


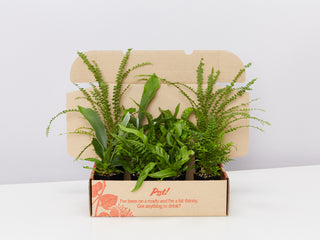


Fern Care 101: How to care for ferns
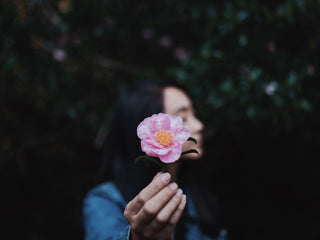
No fruit, no flowers, but I still get service!
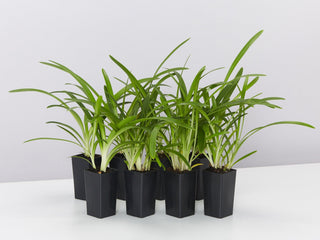
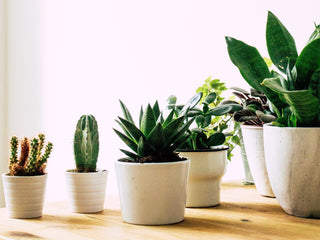
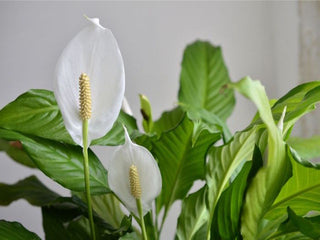
Whether you’re looking for bathroom plants or something to spruce up a windowsill, ferns are a fantastic option. With their intricate fronds and verdant green colour, it’s hard to believe ferns are one of the oldest groups of plants on the planet.
Despite their lack of fruit or flowers, ferns remain one of the most popular houseplants both in Australia and the rest of the world (not bad for a class of plants that’s around 360 million years old!) With thousands of different species available, these verdant beauties look fab in pots and tropical settings.
Want to add some ferns to your indoor plant collection? Here are our top fern care tips to keep your ferny babies happy.
How to care for ferns
Placement
The first step in fern care is finding the right location! Never ever have direct light on your ferns or they will burn - eek! In the wild, ferns grow in shady spots in a variety of forests and rainforests. The best way to recreate this indoors is to ensure that your ferns receive indirect sunlight for a majority of the day. In Australia, your best bet is to place your fern beside a window on the north or northwest of your home. Hardy ferns, such as Boston ferns (Nephrolepis exaltata spp.), Bird’s nest ferns (Asplenium antiquum spp.) and Button ferns (Pellaea rotundifolia) are more forgiving and can be placed near west or east facing windows, providing there is enough light.
If you notice your ferns fronds are yellowing out (and you're watering it correctly) try moving it a bit closer towards a window, he might need a bit more light than his current space is providing.
Make sure you keep your ferns sheltered from drafts and cold air, by keeping nearby windows shut. Avoid placing ferns right against the window, as they prefer ambient light and foliage that touches the window directly may become damaged.

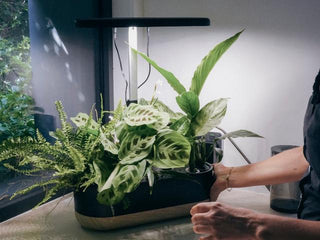
Humidity and misting
Ferns shot to stardom with the rise of greenhouses in Victorian England (along with other tropical plants such as orchids and palms). From then on, people began associating humidity and ferns. While it’s true that ferns thrive in humidity, it doesn’t take a greenhouse to keep ferns alive indoors. You can easily create natural humidity in your home. A simple way to achieve this is to group your plants together - more plants aids in releasing more moisture in the air (and ferns dig that).
One option is to add a layer of small rocks or pebbles to the bottom of a large tray or planter and then cover them with water. Pop your potted fern (or ferns) on top and you’ve got yourself a little humid oasis.
Another great option is to place ferns in the bathroom (preferably near the shower or bath). Ferns are ideal bathroom plants because they enjoy the high levels of natural humidity. A great bathroom fern variety is the Silver Lady Fern (Blechnum gibbum) or Boston fern (Nephrolepis exaltata). Just make sure they get enough ambient light!
Misting is also an essential part of fern care but we mist be honest misting is a daily routine that is sometimes just not practical as you would need to mist your ferns once or twice every day to increase humidity levels which then becomes a daily chore that, at best, keeps the fronds dust-free. At worst, frequent misting that keeps the fronds wet is a good way to invite disease that can kill the plant (just be careful not to mist the furniture and outer walls too).
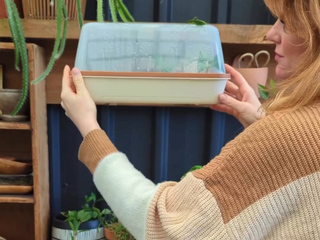
Or double pot your ferns to provide more moisture. Place the main container into a second, larger container that you have lined with moist sphagnum moss. Keep the moss moist or even wet. Use plastic pots, which don't dry out as quickly as clay pots.
An electric humidifier is the ultimate solution for increasing humidity offering a continual light mist whilst increasing humidity levels. You ferns will wake up feeling refreshed and ready for the day.
You'll know when the humidity is too low as the tips of the fronds will brown or die back. Maidenhair, Staghorn, and Boston Fern are especially susceptible to lack of adequate humidity.

Watering and feeding
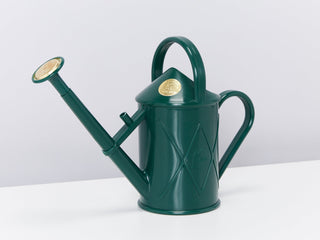
Uncover the secret to stunning ferns: a consistent and controlled watering routine. Witness the incredible transformation as dull, lifeless fronds burst into vibrant shades of green with just a sprinkle of water. However, beware of overwatering, as it can be disastrous for your ferns. They prefer their fronds to be dry & not constantly drenched. Achieve the perfect balance by keeping the soil just right - not too dry, not too wet. Here's a popular and easy method that ensures the fronds stay dry: bottom up watering. Simply place your potted ferns in a sink or bath filled with water, letting them soak up the moisture from the base. Once the water has thoroughly soaked the soil, make sure all excess water drains out before putting the fern back in its pot or tray. Remember, proper drainage is crucial, so always choose pots with sufficient holes at the bottom.
In the summer months, aim to water your ferns every 4-5 days. During the winter, allow for a longer interval of 7-10 days. Keep in mind these guidelines to ensure your ferns stay healthy and thrive all year round.
When it comes to feeding, liquid fertiliser is the way to go. Dilute your liquid fertiliser to half concentration and feed your ferns every month throughout the growing season only (spring and summer). Plant growth will slow down during the Wintertime so there is very little benefit to fertilising during this period.
 Cleaning and pruning
 Cleaning and pruning
Cleaning is another important aspect of fern care. While sitting indoors your fern’s foliage will pick up dust from your home. It is important to regularly clean leaves to keep them healthy. Discard any brown, dry, dead leaves to help stop the spread of disease. If your bath or shower has a detachable showerhead, simply give them a rinse there, otherwise, dampen a paper towel and gently wipe the leaves to remove any dust or watermarks.
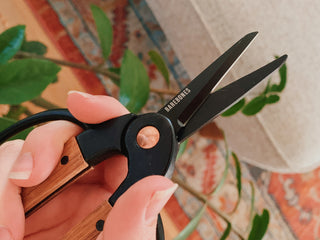
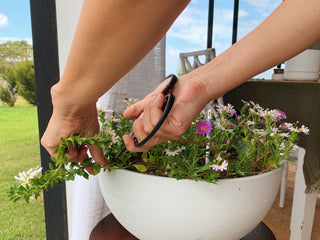
Want to keep your fern green, lush and leafy? Get yourself a nice sharp pair of secateurs and cut off any dead leaves at the base of the plant to encourage that healthy new regrowth.
Re-potting
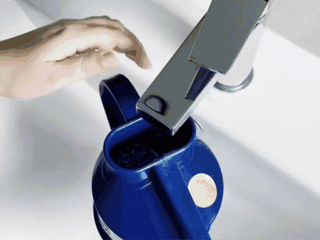
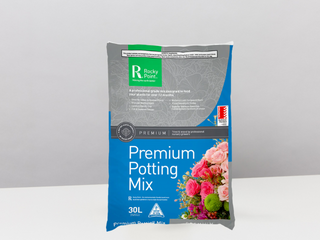
The final step to successful fern care is re-potting. When it comes time to re-pot, select a slightly larger pot with drainage holes. Place a piece of porous material (such as a piece of cotton cloth) at the bottom of the pot and then fill the pot about 1/3 full with your soil (or until your fern sits at the right height).
Your soil may be made up of a high peat mixture, but you still need drainage! You can use sand, pearlite etc to create a well-draining mixture. The key mixture will have good moisture retention without leaving them sitting in water (that can lead to disaster).
Gently remove your fern from its old pot and loosen the soil around its roots before adding the fern to the new pot. Fill the sides with the soil mixture leaving about 5cm from the top of the pot (to avoid spillover when watering). Water the fern and then add a layer of moss or a coir fibre mat to the top of the soil and mist thoroughly to keep the fern moist and humid.
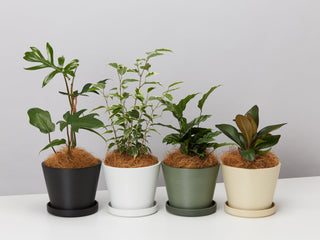
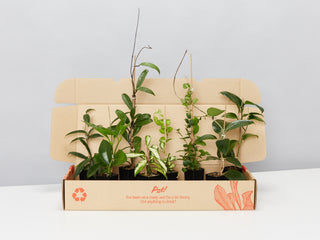
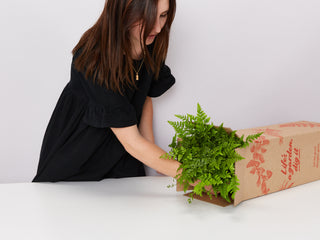
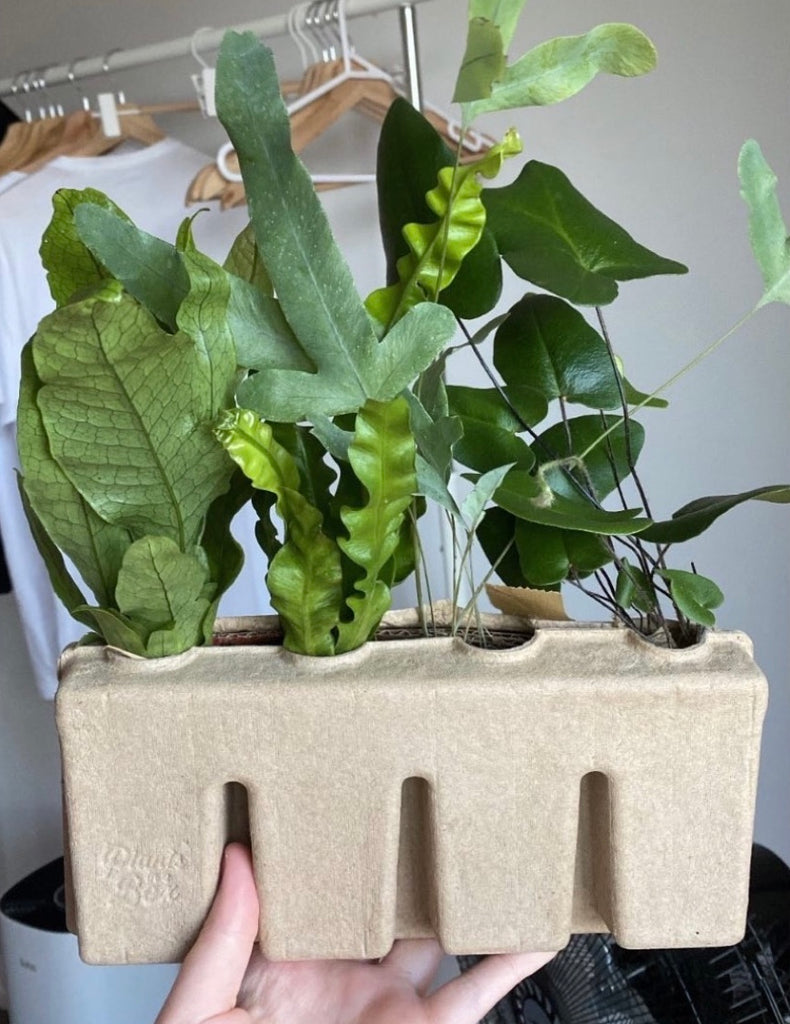
Now you know how to care for ferns, you can have your home looking fern-tastic in no time! Check out our beautiful collection here. Our Australian based nursery stocks a huge range of fern varieties; from delicate beauties (like the Rabbits Foot Fern and Leather Leaf Fern), to splendid eye-catchers (like the Crocodile Fern and Ruffled Birds Nest Fern).